A ceiling leak is a stressful and potentially damaging situation that can lead to mold growth if not handled properly.
Mold can cause health problems and damage to property, so it’s important to take immediate steps to prevent its growth after a ceiling leak occurs.
In this article, I’ll provide a step-by-step guide on how to prevent mold growth after a ceiling leak.
Let’s get started.
Step 1: Take Immediate Action
The first step to prevent mold growth after a ceiling leak is to take immediate action. Shut off the water source to prevent further damage, and remove any standing water. Dry the affected area as soon as possible to prevent mold growth. You can use a wet vacuum or a pump to remove water.
If it is a larger leak, it is advisable to call a professional to avoid further damage. It’s also important to inspect the ceiling and walls for signs of mold growth, such as a musty odor or visible mold.
Step 2: Cleaning Up Mold
If you find mold after a ceiling leak, it’s important to take the proper precautions when cleaning it up.
Here’s a step-by-step guide to help you:
- Wear protective gear such as gloves, a mask, and goggles to avoid inhaling mold spores or exposing your skin to them.
- Cover the affected area with plastic sheeting to avoid spreading mold spores to other parts of your home.
- Use a mold-killing solution or a mixture of water and detergent to clean the affected area. Avoid using bleach as it can cause discoloration and may not be effective in killing mold on porous surfaces. Instead, use a commercial mold remover, which you can purchase at hardware stores.
- Scrub the affected area with a stiff-bristled brush to remove mold from surfaces.
- Wipe down the area with a damp cloth to remove any remaining mold spores.
- Allow the area to dry completely. This can take several days, depending on the level of humidity in the room.
- Use a HEPA filter vacuum to clean up any remaining mold spores.
Step 3: Preventing Mold Growth in the Future
To prevent mold growth after a ceiling leak, it’s important to take steps to address the root cause of the leak and reduce humidity levels.
Here are some tips to help you:
- Fix the source of the leak to prevent further water damage. This can be done by repairing the roof or the plumbing.
- Improve ventilation to reduce humidity levels. This can be done by opening windows, using exhaust fans, or installing a dehumidifier.
- Monitor indoor humidity levels using a hygrometer. Ideally, indoor humidity levels should be between 30 and 50 percent.
- Regularly inspect the ceiling and walls for signs of mold growth to catch any issues early on. If you notice any signs of mold, address the issue promptly to prevent further growth.
Conclusion:
Preventing mold growth after a ceiling leak requires immediate action, thorough cleaning, and ongoing monitoring. By taking prompt steps to dry out the affected area, cleaning up any visible mold, and addressing the root cause of the leak, you can prevent further mold growth.
It’s also important to monitor indoor humidity levels and regularly inspects the ceiling and walls for signs of mold growth. If the mold growth is extensive or if there are health concerns, seek professional help to ensure proper remediation.
With these steps, you can prevent mold growth and keep your home healthy and safe.
Do you have mold on your bathroom tiles? Read How to Clean Mold Off Bathroom Tiles with Vinegar.
Thanks for reading!
-Baking Soda Guy
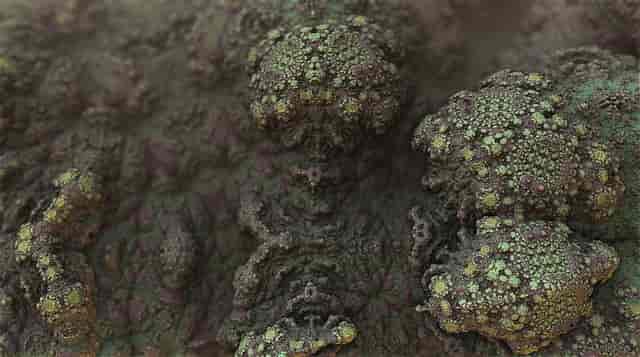
Image by Pete Linforth from Pixabay

